Teeth and Dental Health

Our teeth are very important! In order for dental health to become a life-long habit, it is important to start early. Preschool aged children are also close to begin losing their baby teeth. This week we will spend some time learning about our teeth and how to take care of them. Knowing how to properly care for our teeth and what to kinds of things are bad for our teeth is a great help.


CIRCLE TIME

Healthy Teeth Activity

Draw a large smile on butcher paper. It needs to be an "open mouth" smile for this activity. Use regular white index cards for the teeth. Cut out pictures from magazines or the internet of healthy and sugary foods. Tape them to the back of the index cards. Tape the index cards to the smile to look like a mouth full of teeth. Place 2 boxes, 1 with a smiley face and 1 with a frowny face, on the floor or table in front of you. Hang the Smile up in the circle time area.
Ask the children to smile really big and look at each others teeth. Our teeth are bone-like objects in our mouths that help us chew up our food. In order to keep our teeth healthy and strong, we must take care of them. Eating sugary foods, like cookies and candy, can cause damage to our teeth. Sugar sticks to the teeth and can cause them to become weak. When that happens, they can break. We can keep that from happening by brushing and flossing our teeth everyday. Brushing our teeth is a lot like washing our hands! It helps to keep us healthy.
Ask a child to remove a tooth from the smile. On the back is a picture of food. Is the food good for your teeth or bad for your teeth? Have the child place the tooth in the correct box. Talk about what makes the food good or bad. Then continue with the rest of the children and the remaining teeth.


CLEAN TEETH ACTIVITY

Chew Test

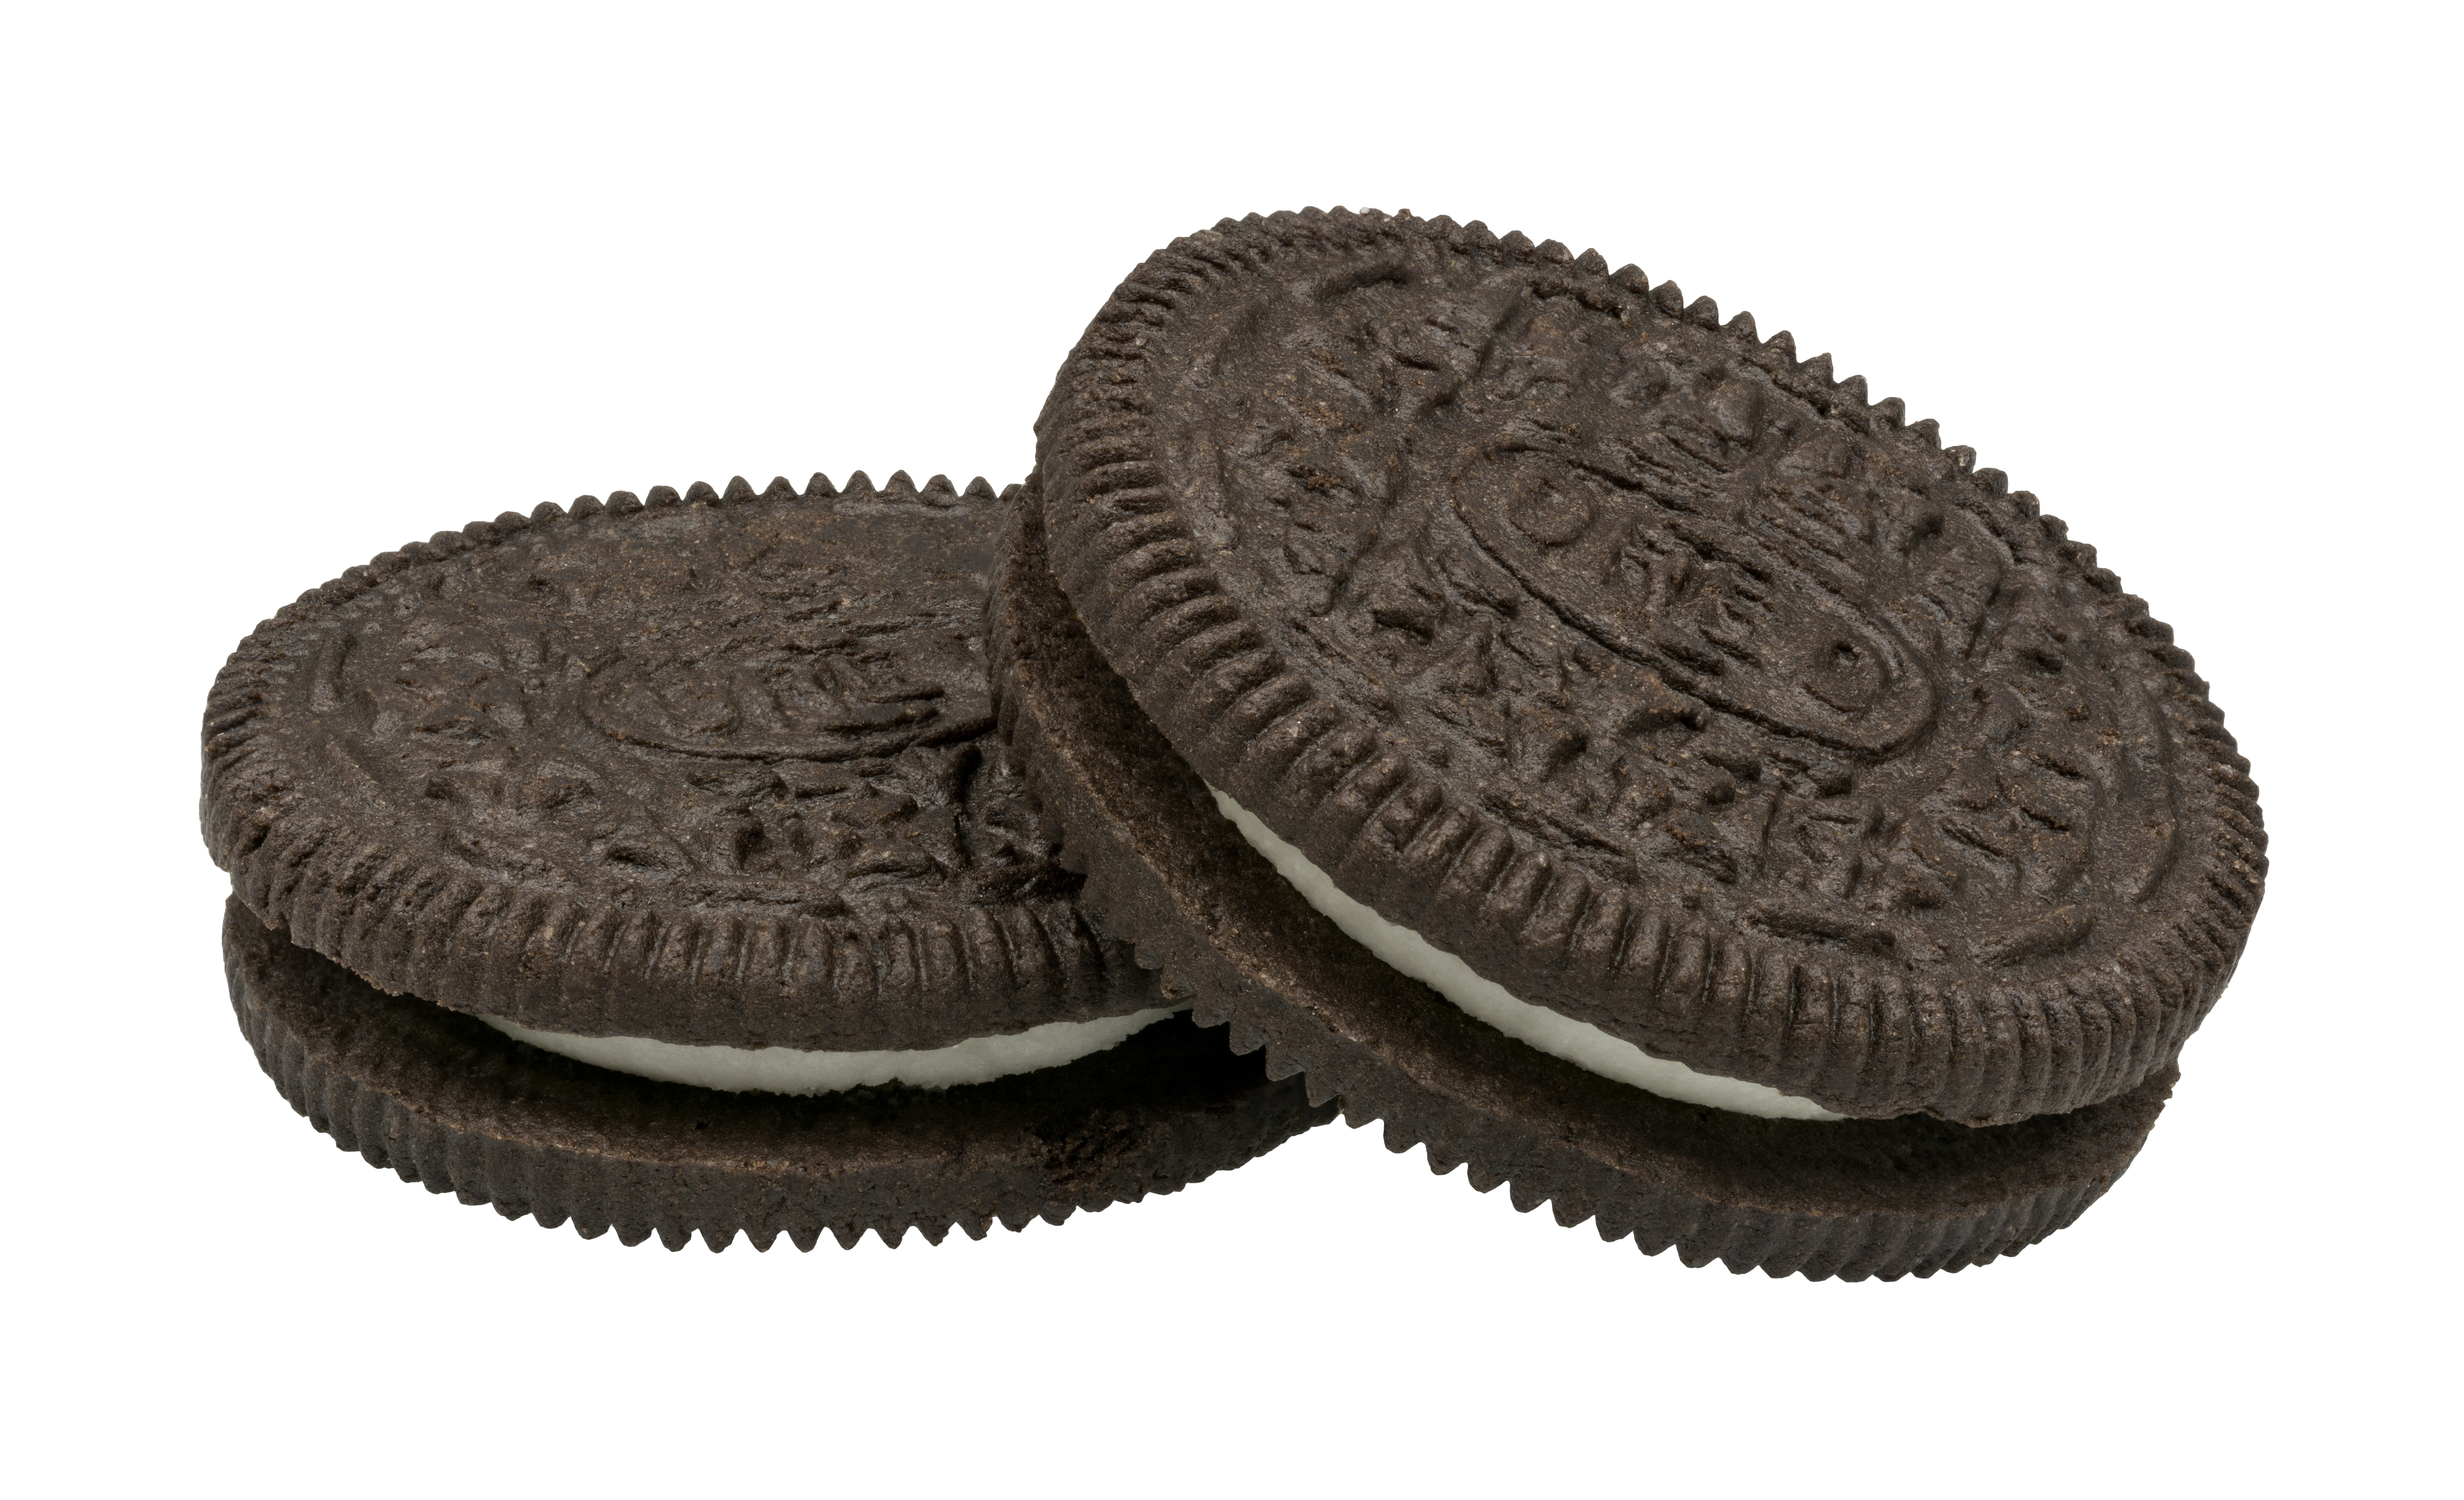
Collect a few different foods they can taste. Provide some apple chunks, carrot sticks, and oreo cookies or chocolate graham crackers. Make sure there are mirrors available. Have the kids eat a cookie and then look at how dirty their teeth are. Eeeewww!! Then have them drink a little water and eat a carrot or apple. Now look at their teeth. Much cleaner, right?

This is a great example of how non-sugary foods can be much better choices to help keep their teeth healthy!


LETTER:  A a for Apple

A is for Apple! Apples are a healthy snack for your teeth and your body. Talk about the sounds that A makes. Print the color sheet below. Have the kids trace the letter with their finger and then a color. Color the picture.
http://first-school.ws/t/alpha1/a.htm


READING

This week we will work on ot and og and the short O sound.

On starfall.com:  og and ot
On readingbear.org: short "o" sounds

The fun activity for this week will involve plastic drink cups. It is best to make the first letters all one color, say red, and the ot and og part of the word in another color, say blue.

You will make an ot cup and an og cup. Then make cups for beginning letters of D, F, G, H, J, L, N, and P. Discuss the different sounds that the letters on each cup makes. Begin with the ot cup. Have everyone say "ot". Place the D cup in front of the ot cup. Ask a child to say the D sound. Now read ot. Put them together! You can continue this through the rest of the sounds.


SCIENCE

How Can Foods Stain Our Teeth?

Materials Needed:
4 eggs
4 clear cups
Cola
OJ
Vinegar
Water
 Present the eggs to the kids and compare them to your teeth. They are similar in texture and the same color. Explain that the foods and drinks we ingest can stain our teeth and we are going to demonstrate with the eggs. Place 1 egg in a cup and cover it with water. This is our control. This egg will not change colors. Place another egg in a cup and cover it with cola. What color do you think this egg will turn?  Place the 3rd egg in a cup and cover with vinegar. We already did this experiment at Easter, so see if they remember what happened to the egg.  Place the final egg in a cup and cover it with the orange juice. Do they think this egg will turn colors?
Leave the eggs alone for the day. You can check back a few times to see what is going on. After 24 hours, you should begin to see some color changes. Talk about the changes and what might have made the changes happen.
Brushing your teeth regularly can keep this staining from happening!


MATH

Tooth Counting


For this activity we will use playdough and playdough mats.
Math Mats - Teeth


Print out the above mats and laminate for best results. Give the kiddos white playdough (you can make your own by going here.)  Ask them to make the number of teeth listed on the nose of the face and place them in the mouth. These can be very funny! This is a great way to practice counting while also doing a Teeth activity!


You can also do this same activity on another day using mini-marshmallows or slivered almonds.


COMMUNITY

Dentists

Dentists are the doctors who take care of our teeth. We visit the dentists every year for a checkup (or to make sure our mouth is healthy) just like we visit the doctor for the same reason. The dentist will look into your mouth and make sure that all of your teeth are healthy. If they find any teeth that aren't healthy, they will need to fix them. Getting a filling doesn't hurt, but it is best to try to not need any. The best way to do that is to eat healthy foods and brush and floss your teeth everyday.


BOOKS

on Amazon:
http://www.amazon.com/Berenstain-Bears-Visit-Dentist-Prebound/dp/0812429729/ref=sr_1_1?s=books&ie=UTF8&qid=1367003001&sr=1-1&keywords=berenstein+bears+visit+the+dentist

"Sister Bear watches Dr. Bearson fill Brother Bear's small cavity. Then it's her turn in the chair to have a dangling baby tooth removed. An entertaining story for preschoolers of a cheerful and informative visit to a dentist. "


  on Amazon:
http://www.amazon.com/Brush-Your-Teeth-Please-Pop-Up/dp/B00BR9YU6S/ref=sr_1_1?s=books&ie=UTF8&qid=1367003068&sr=1-1&keywords=brush+your+teeth+please

"What child can resist imitating a chimp brushing its teeth back and forth? Or a shark that flosses every day? Youngsters will have lots of fun learning about proper dental hygiene in this delightful pop-up book. "


ART
Toothbrush & Floss Painting

Materials Needed:
Construction Paper OR Butcher Paper
Toothbrushes
Floss
Paints

Provide paints, paper, a toothbrush and a strip of floss to each child and let them go crazy! Being allowed to paint with unusual objects makes it more interesting.


CRAFT

Toothbrush Craft

Materials Needed:
Construction Paper
Tissue Paper
Glue

Cut a toothbrush shape out of the paper. Provide squares of tissue paper and glue and allow the kids to fill in the bristly part of the brush with the tissue paper.


MUSIC


Got My Toothpaste (tune of Row Row Row Your Boat)

Got my toothpaste, got my brush,
I won't hurry, I won't rush.
Making sure my teeth are clean,
Front and back and in between.
When I brush for quite a while,
I will have a happy smile!


COOKING

Smile Pizza!


Ingredients:
Bagels (thin work best!)
Pizza Sauce
Cheese Sticks

Cut each half of the bagels in half to make a half moon (smile). We used the thin bagels so they would be less bread-y! Allow the kids to spread pizza sauce on their smile. Cut the cheese sticks into small tooth-like bits. I cut the stick in half lengthwise and then into small chunks. Allow the kids to add teeth to their smiles! Bake in a 400ยบ oven for about 5-7 minutes.


MOTHER'S DAY CRAFT

Craft Stick Frames

Materials Needed:
Craft Sticks (like popsicle sticks)
Paint
Stickers
Ribbons
Googly Eyes
Sparkles
Heart stickers
Etc.
Craft Glue

Picture of the Kids

Glue the sticks in a square shape with the center open for the picture to show through. Allow the kids to decorate the frame using whatever materials you have. When done and dry, place the picture in the frame and let the kids take them home for Mommy's Day gift!

Dinosaur Week!

Oh boy, oh boy, oh boy! This is going to be a fun week! Dinosaurs seem to captivate all children. Maybe because of their immense size, that they look like huge lizards, or maybe because they no longer exist. Whatever the reason, incorporating dinosaurs into our lesson this week is going to be so much fun!


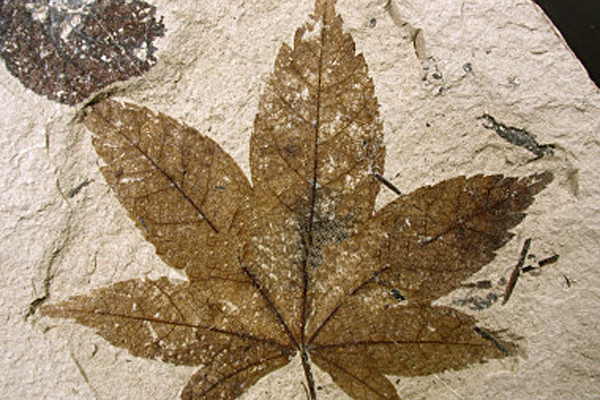
In order to alleviate any fear of these violent, meat eating creatures, begin by explaining that the dinosaurs have been extinct, or that none live anymore, for a very long time. The dinosaurs were on our Earth long before any people were here! The only parts of them left for us to see are their bones. Their bones are called fossils. Special scientists, called Paleontologists, have dug up their different bones and put them together like a puzzle! Once they have the body of the dinosaur put together, they can make guesses about what their skin looked like. Many museums, which are places you can visit to see dinosaur fossils up close, have added the skin to the skeletons so you can see what they may have looked like.

CIRCLE TIME


Dinosaur Charting
Talk about how many different kinds of dinosaurs there were. There were all different kinds! Meat eaters, plant eaters, omnivores (eat plants & meat), ones that fly, ones that swim, ones that walk very slowly and some that run very fast!
Make a chart to hang on the wall for the discussion. Label down the left side things like: runs fast, walks slowly, eats meat, eats fish, eats plants, eats both, swims, and flies. Talk about some of the different dinosaurs. Ask them if they know the names of any. Talk about the dinosaurs they suggest. Ask them what they know about them and place them on the chart in the correct categories. Give them some examples yourself and chart them. Review the chart when you have it filled in. The chart will help them see that there were lots of dinosaurs, all with their own special characteristics. Just like the animals of today!
Visit http://www.kidsdinos.com/dinosaurs-for-children.php?category=Animals (Contemporary With Dinosaurs) for information to help you with this activity.

I have also created some dinosaur flashcards to help with this week's lessons: Dino Flashcards


LETTER: B b for Big

Dinosaurs (a lot of them) were BIG!
http://www.first-school.ws/t/cp_dinoalpha/b.htm

Print the B is for Brachiosaurus color page. Brachiosaurus was certainly BIG! Talk about the sound that B makes, trace the letters with your finger and then with a crayon. Color the page!


READING

Short I, ig and ip

This week's reading activity will require some spring clothespins. It doesn't matter if they are plastic or wood, as long as you can write a letter on it. This activity has the same premise as the magic spoon activity last week. You will also need some free paintsticks from Walmart or a hardware store. Write ig on one paintstick and ip on another. Draw a star or a happy face just before the letters to show where they should attach the clothespin. Write the letters B, D, H, L, P, R, S, T, W, and Z individually on the clothespins.

Talk about the sounds that ig and ip make. Say them out loud a few times. Then review the clothespin letter's sounds. Show them how placing the B on the ig stick makes the word Big! B-ig. Continue to work through the letters with the sticks to make new words. Sound each one out several times as you go.


http://www.starfall.com/n/level-a/learn-to-read/load.htm?f
Work on ig and ip on Starfall this week.

http://www.readingbear.org/
Work on the Short I section on Readingbear.


COMMUNITY

Paleontologists
Paleontologists are dinosaur scientists! They are the people who dig up dinosaur bones, or fossils, and learn everything they can about the dinosaurs. They will put the bones together like a puzzle to figure out what the different dinosaurs looked like when they were alive. Since the dinosaurs disappeared from the Earth before people were around, no one has ever seen a real, live dinosaur. Many of the images and ideas about dinosaurs are guesses that Paleontologists have made. By studying the fossils, they are able to make pretty good guesses!


ACTIVITY

Dinosaur Dig!

Super fun activity! This is great if you have a sand table or box, but you can put sand or dirt (or even rice, beans and quinoa) into any container and it will work! You can get a bunch of little plastic dinosaurs at dollar stores usually, or sometimes at Wal-Mart. You can even find some little dinosaur bones sometimes! Stick a bunch of the dinosaurs under the sand in various places.
Tell the kids that they are going to act as Paleontologists today and dig for dinosaurs! Provide them with little plastic shovels, sifters and some paint brushes and allow them to CAREFULLY dig for the dinosaurs. Remind them that they must be very careful so they do not hurt the fossils. You can also provide a few small boxes or baskets for them to place their finds. To make it more challenging, place a picture on the front of the basket or box and ask them to sort their finds into the correct boxes.


MATH

Big & Small Activity

This is another sorting game. Choose various objects of different sizes. These objects can be whatever you want, legos, balls, books, stuffed animals, or even crackers! You will need a box for BIG objects and a box for SMALL objects. Show the kiddos one of the big items and 1 of the small items. Talk about how one is big and one is small. See if they can guess which is which. Next, place the items all jumbled up on the table and allow the kids to take turns deciding which box their object should go into. As they place items into the correct boxes, talk about why each item is big or small. 


Dino Sticker Counting

Print the counting grid we have used in the past lessons HERE.  This time we will count BACKWARDS from 5 to 1. Write the numbers 5, 4, 3, 2, 1 along the left side of the paper. Provide the kids with some dinosaur stickers and ask them to place the correct number of stickers on the grid next to their corresponding number.

This is using erasers and is counting forward, but you get the idea!


SCIENCE

Making Fossils

Not all fossils are of bones! Many fossils are impressions of something left in the dirt that then hardened over a long time. Scientists have found fossils of plants, feathers, insects, foot prints, and seashells. Today we are going to make our own fossils!

Materials Needed:
Air Dry Modeling Clay
Items to make impressions such as shells, leaves, sticks, something to make footprints with, etc
Paper plates


Give each child a plate and a ball of the clay. Help them smoosh their clay flat onto the plate. You could use rolling pins if you wish. You want the clay to be about ¼" thick so that it is thick enough to hold the impressions but not so thick that it takes a long time to dry. When their clay is ready, provide them with choices of items that they would like to make a fossil of. Help them to make an impression of the items they have chosen. These will need to dry for about 24 hours.
Tomorrow you can come back to them and paint them! When they are all done, allow them to really explore their fossils and remind them this is how the Paleontologists have found many fossils of things that are no longer around!

You can see some fossils by looking at this link: http://www.kids-dinosaurs.com/pictures-of-dinosaur-fossils.html


BOOKS


Available on Amazon:  http://www.amazon.com/How-Were-Dinosaurs-Bernard-Most/dp/0152008527


This book is very helpful when trying to help young children understand how BIG a lot of the dinosaurs were!


Available on Amazon:  http://www.amazon.com/Digging-Dinosaurs-Lets-Read-Find-Out-Science/dp/0064450783/ref=pd_sim_b_2


This book will help children understand what happened to the dinosaurs and why and how their bones are now found buried in the ground.


ART/CRAFT

Art

Dino Skeletons!
(from pre-kinders.com)

Materials Needed:
Construction Paper
Several kinds of dry pasta
Glue (white school glue is best for this one)
Printable dinosaur (http://www.prekinders.com/wp-content/uploads/2010/11/dinoskeleton.jpg)

Print the dinosaur for each child. Provide the dinosaur puzzle and a piece of construction paper for each child. Help them to put the dinosaur together and glue to the paper. Next offer a selection of dry pasta for them to glue to the picture in order to make it look like a dinosaur skeleton!


Craft

Dino Feet!

Materials Needed:
Craft Foam Rectangles in various colors
Glue

TEMPLATE


Cut triangles out of the toe side of the feet. Use the leftover triangles from another color as the "claws". Cut the leg holes as pictured. VERY IMPORTANT!! You must place a sturdy tape on the bottom side around the holes or the holes will get torn to pieces really quickly! These are not made to last long, but to keep them usable for longer than a couple minutes, you have to reinforce the leg holes!!

Allow the kids to pick the colors they want and glue the claws to the toes. Once dry, put them on and stomp around like dinosaurs!


MUSIC

Dinosaurs of Long Ago

The Dinosaurs lived long ago,
And walked like this, and that. (Walk heavy like Dino's)
Some were large (Stretch arms apart.)
And some were small. (Squat down.) Some liked water (Swimming motion)
And some liked land (Stomp feet.)
Some had wings that flapped and flapped. (Flap arms)
Some had long necks that stretched and stretched (Put hand above head)
The meanest, rudest one of all was ferocious Tyrannosaurus Rex
These were the Dinosaurs of long ago.
Goodness gracious! Where did they go?


COOKING

Fossil Crackers with Dino Topping

Ingredients:
Ritz crackers
Laughing Cow cheese
Items for making impressions in the cheese such as goldfish crackers, celery leaves, pretzel sticks, etc

Allow the kids to spread some of the cheese on some crackers. Provide them with the other items and tell them you are going to make some fossil crackers! Press a goldfish into the cheese to make a fish fossil! Make as many different types as your imagination allows.


Earth - Our Beautiful Home

The Earth is a very big place. Asking a preschooler to understand the size of our planet is a pretty tough job. They have no comprehension of that kind of size. I'm not even sure that I do! It is best to break down the different parts of the Earth into managable pieces for them. Show them a globe also, so they understand that our world is round. As you discuss the parts of the Earth, show them on the globe which part you are discussing and that will help to put it into perspective for them.

(Monday is Earth Day. I love our Earth and want to protect it, but not for just one day of the year! I believe that Earth Day is every day! I try to teach a basic love and appreciation for our Earth and everything in it all the time. It should be a part of their daily lives, not something they focus on for a week.)


You can visit the NASA website to see some really amazing images of our planet from space! Click this link: http://visibleearth.nasa.gov/view_cat.php?categoryID=1484

CIRCLE TIME

Earth is made up of many parts.  The oceans are the biggest part! They cover most of the Earth. There are also lakes, rivers, and streams which are water.  The land is the next biggest part. Mountains, hills, rocks, sand, and dirt are parts of the land. There is also the air, also called atmosphere. The air is all around and goes all the way up into the sky. The clouds float on the air. Our Earth is big, but it needs our help to protect it. We must do our best to protect the Earth's resources.


ACTIVITY

Explore the Earth!
(see the ART activity below!)

Take the kiddos outside and explore!
Look for the sky. What color is it? Is there anything in the sky? Can you reach the sky?
Look for dirt. What color is it? How does it feel in your hand? Does anything live in the dirt?
Look for rocks. Are they heavy? How many different colors can you find?
Look for trees. How many different kinds can you find? How tall can they get? What lives in the trees?
Look for water. (this one may be difficult for you! you could create a small stream or pond in your yard using a hose and dirt) What happens when you put a rock in the water? What kinds of things live in the water?
Look for trash. Should trash be lying on the ground? Should it be floating in the water? How do you think it got there? What can we do to help keep our Earth clean and beautiful?


LETTER:  I i for Important

Short I worksheet


READING

This week we are going to work on the short E sound. For this, we are going to make "magic spoons"! You will need some plastic spoons and a permanent marker. Focus on "en" and "et" words. Create 1 spoon with en written on it and another with et written on it. Then write the letters D, G, H, J, L, M, P, S, T, V, and W on individual spoons. This activity will show how the base sound of en and et remain the same and adding different beginning sounds will change what the word is. Help them pronounce en a few times. Then place a T in front of the en and ask them what sound T makes. Ask them to pronounce the T, then en. They just read the word TEN! Continue this practice by changing the first letter to make common words they know. It is best to work on en completely before moving on to et. Once you have worked on the words, see if they can create a word on their own!

Work on the en and et sounds on Starfall HERE.

Work on the short E sound on Readingbear HERE.


SCIENCE

Terrariums

Materials Needed:
2 liter plastic bottle
Clear tape
Pebbles
Dirt (potting soil)
Charcoal Pebbles (optional)
Sphangnum Moss (optional)
Plants

  1. Cut the bottle near the top but below the neck. Make sure your cuts are even so that you can tape the bottle back together once filled.
  2. Put a layer of pebbles in the bottom of the container. Make it about one inch thick. This will allow for good drainage.
  3. Put a layer of activated charcoal right on top of the pebbles approximately one half inch thick. This will filter the water. (This step is totally optional)
  4. Put a layer of Sphagnum moss on top of the charcoal. Sphagnum moss is a dried and wiry material and what this does is act like a barrier so the soil does not slip down into the rocks at the bottom. (This is optional but recommended if you want a cleaner and sharper looking terrarium)
  5. Put a layer of soil on the top of all of this. The layer should be at least two or three inches thick but you can vary this according to the size of your container.
  6. Poke small holes into the soil and transplant your plants into the container.
  7. Water it a moderate amount and tape the top of the bottle back on. The lid should remain off.  Now just monitor it over the next few days. If it needs more water then add.

Succulents or cacti are your best bet for ease of care and durability!

This is an excellent activity for kids to see what is going on under the ground where plants are growing. This is something you can keep in your classroom for an extended time to give them a "job" of taking care of it. Each week you can assign 1 child to water the terrarium and rotate.


ART/CRAFT
(I try to use recycled materials in many of the arts and crafts that we do!)

Art: TP Tube Binoculars

**Make these BEFORE doing the "Exploring the Earth" activity!

Materials Needed:
2 TP tubes per child
Tape
Markers, Crayons, Stickers, etc
Yarn or other thick string

Allow the children to decorate their TP tubes. Once they are done, tape their tubes together. Poke a hole through each tube on one end and string the yarn through. Make sure it is long enough for them to put around their necks to hold their binoculars in place. When you go outside to Explore the Earth, use the binoculars to "help" you see!

(If you aren't comfortable with the kids putting yarn around their neck, omit this part of the activity)


Craft: Pet Rocks

Materials Needed:

1 rock for each child (find them or you can buy them at hobby shops)
Paint
Stickers
Feathers
Yarn
Glue
Googly Eyes

Give each child their rock, or allow them to choose one. Tell them this is their special rock and it will be their pet! Allow them to decorate their rock however they choose. Once done, ask them where their pet's eyes should be and help them attach the googly eyes to the rock.
Rocks are an important part of the earth and now this one is theirs! Try to set up a place where their rocks can "sleep" during the day!


MATH

Earth Puzzle


Print the puzzle out and cut out the pieces. Allow the kids to put their Earth back together.


Fishing For Numbers

Water is a big part of our Earth! Fish live in most of the water around our world. We can use this to do a little math practice!

You can use refrigerator number magnets, or you can make your own by gluing small magnets to foam numbers. You will also need a fishing pole. To make one, use a sturdy stick from your yard or buy a long dowel from a hobby shop. Tape a string, yarn, twine, or whatever else you have to the end so that it hangs down about 3-4 feet. Attach a large paperclip to the end of your string.

Place the numbers in a large bowl, a platic wading pool, a baby bathtub, or a large box. Allow the children to drop the end of their fishing pole into the "water" where the number fish are. Ask them to say the number they pull up. Then place it on the table. When the next child pulls up a number and says it, ask them to place the number where it goes in relation to the first number. Continue this through all the numbers.


BOOKS


Available on Amazon:
http://www.amazon.com/Earth-G-Brian-Karas/dp/0756989264/ref=sr_1_11?s=books&ie=UTF8&qid=1365773902&sr=1-11&keywords=earth

"Climb aboard a giant spaceship . . . the Earth! In glorious art, G. Brian Karas illuminates our Earth and its cycles and does a brilliant job of making the concepts of rotation and revolution understandable. As you travel, watch shadows disappear into night, and feel the sun on your face as winter turns into spring. All these amazing things happen because the Earth is constantly in motion, spinning and circling, gliding and tilting. As passengers of the Earth, our voyage never ends!"


Available on Amazon:
This book will aid your discussion about rocks and what they are all about!


Available on Amazon:
Helpful when discussing dirt this week.


MUSIC
 
This Land

This land is your land
This land is my land
Let's work together
To make it better
From tall green forests, to clear blue waters
This land depends on you and me


COOKING

Earth Snack

These are a different take on Dirt Cups!

Ingredients:

Chocolate Cheerios, ground up
Chocolate Pudding
Blue Jello
Coconut, died green

Place the pudding on the bottom of the cup. Sprinkle the ground up Cheerios on top to make the dirt. Add a small amount of blue Jello on one side of the cup for the water. Sprinkle a little of the green coconut on the other side. It should look like Earth with land, grass, and water!
(I had to use blue frosting in the picture, the Jello wasn't photographing well! It works too.)

Clouds! Incredible Weather

"April showers bring May flowers!" This is a fairly realistic saying here in the States. During the first part of spring it rains and storms quite frequently which helps to bring all the pretty flowers to life. Rain and storms go hand in hand with clouds. What are clouds? Clouds are made of tiny (smaller than you can see) water droplets. When they all come together they make a cloud. When these clouds become big they get heavy. The water begins to fall out of the cloud and that is what we call rain! Clouds don't always make rain, though. Sometimes they are just fun to look at! They can make all kinds of shapes.


CIRCLE TIME:
Talk about clouds! Ask some questions to see what they know and think about clouds.
1. Do you think you could walk on clouds?
2. How do you think they get there?
3. Are there different kinds of clouds?
4. What colors of clouds have you seen?

Talk about their answers. For a fun display, draw a large fluffy cloud on paper that you can put up on the wall in your Circle Time area. Write some of their answers on the cloud. Also print out some different pictures of clouds and post them on the cloud you drew.

You can visit the NOAA http://www.nws.noaa.gov/pa/forkids.php wesite for some interesting pictures and coloring pages.


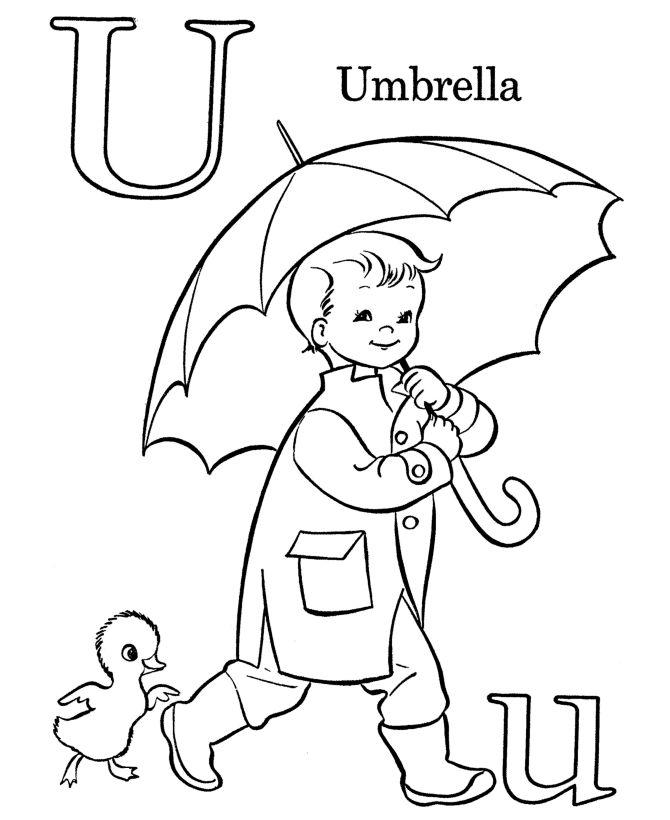
LETTER: U u for Umbrella

When it rains we will use an Umbrella to keep us dry.
U for Umbrella coloring page


READING:

We will begin our phonetic reading this week! I feel that the easiest and most efficient way for preschool kids to begin the reading process is to sound out the letters that make up words. We have been working all year on the sounds letters make, singing the ABC song, coloring worksheets, and so forth. Now it is time to use all that knowledge to try to read some small words.

It is helpful to spend around 5-10 minutes per day on reading. Yup! That's all you need. Too much and they will lose interest. So it is important to integrate a reading activity into each day and only for a few minutes.

Begin this week with "A". It is a word, after all. Find some sentences in their favorite books which have "a" in them. Read the sentences aloud and pause at the "a". Ask them "What word is that?" Each time you get to an "a" in the story, pause and let them "read" it themselves! Great start that will make them feel very proud.

There are a couple of FREE websites that I will refer you to for all our reading lessons. Generally I will provide 1 or 2 reading activities each week and then supplement with these great activities on the sites.

On starfall.com we will use the reading games. BEGIN HERE! This week we will work on "an" and "at".

On readingbear.org we will use their "sounding out" techniques. Begin this week with the "short a" sounds. BEGIN HERE

By incorporating the letter a into many different reading activities, it will help young children begin to understand the concept of reading.


STORY

Drippy The Raindrop


Read this story from First-School.com before doing the science activity! It will help to explain exactly what happens to water from the river to the cloud and back. (the story isn't complete, but it tells enough of it to work. there is an option to purchase the rest of the story if you wish)


SCIENCE:

Making our own Clouds

Materials Needed:
Cotton Balls
Flat pans or flat containers
Water

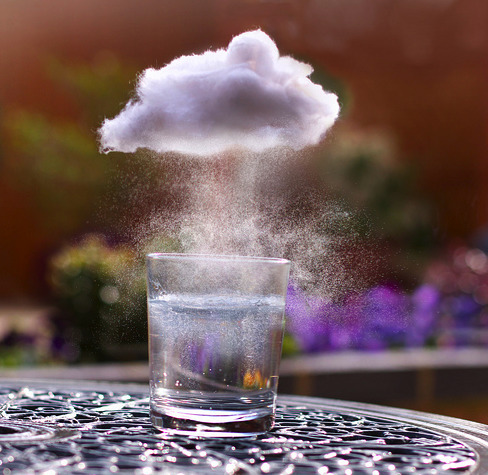
Put about a half inch of water in the pan(s). Give each child a cotton ball. Explain that this will act as their cloud. How does the cloud feel? Light and soft? Talk about how water will "evaporate" or become tiny droplets and will rise up into the sky. Ask them to place their cotton over the water. Can you see the water traveling up into their cotton? How does the cloud feel now? Heavy? As they lift the cotton ball up from the water some "rain" will begin to drip from the clouds. This is exactly how a cloud acts when it is full of water! The water comes back down as rain and ends up in lakes, streams and the ocean (represented by the pan of water). Once their cloud in empty of water, the process can begin again.


MATH

Cloud Number Toss

Print numbers 1 - 12 inside an egg carton. Have the kids toss a cotton ball (or craft poms) at the carton and say the number they land on out loud. Then count out that many cotton balls.


Umbrella Grid Game

Print out the umbrella grid from Prekinders.com. Make sure you have clear glass beads (like for fish tanks) and a numbered dice. You can make your own dice by purchasing a wooden block in whatever size you choose from a hobby store. Simply print the numbers on each side with a marker.


The kids will roll the dice one by one and place a bead on each umbrella for the number they rolled. This is great for number recognition, counting, and taking turns.


CLOUD ACTIVITY

Cloud Watching


Print the window on heavy cardstock. You will need craft popsicle sticks or paint stirrers as well. Cut the center of the paper out so that you can see through it. Glue or tape the stick to the bottom and backside of the paper so you can hold it up and look through it easily.

On a nice day with clouds in the sky, take the windows outside to use to look at the different kinds of clouds. It is not really important what each type of cloud is called, it is just fun to try to match up the clouds in the sky with the clouds on the window! You can also begin to find funny shapes that clouds can make. Maybe you can find a bunny, a flower, or even your Mom!


CRAFT

Fluffy Cloud

Materials Needed:
White Construction Paper
Several Colors of Blue Tissue Paper, cut in squares
Glue

Freehand a fluffy cloud onto the paper. Provide tissue paper squares and glue for the kids to use to make their cloud.

Cut them out and tape them to windows for a cool effect!


STORY


Sweet story about a little cloud who changes into all kinds of shapes before joining up with another cloud to make rain.


MUSIC

Black Clouds

Black clouds gather in the sky
Soon its going to storm
Lightning, thunder, run inside
And we'll be safe and warm!


COOKING

Cloud Cookies

Ingredients:

Graham Crackers
Vanilla Frosting
Mini Marshmallows

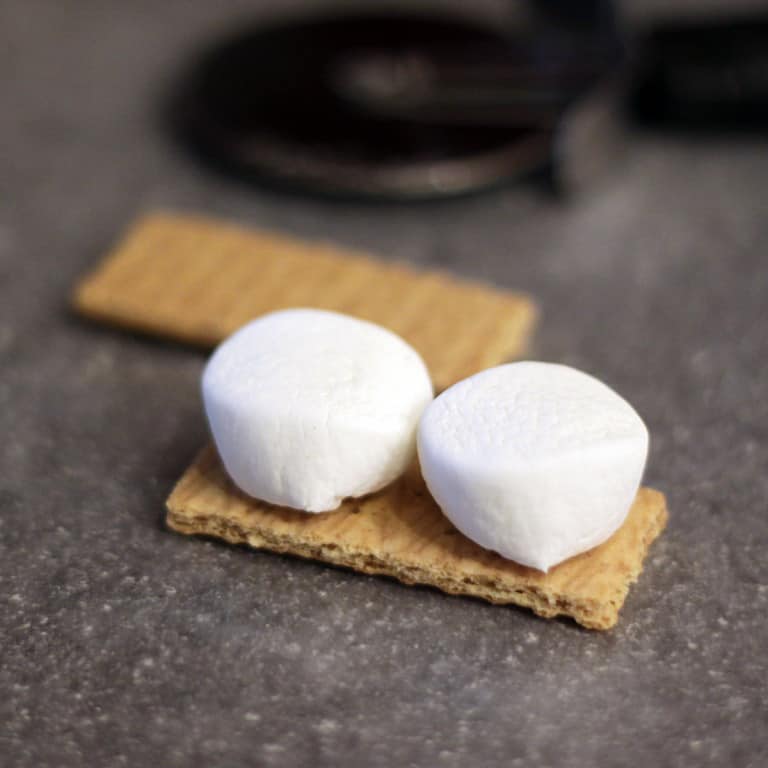
Allow the children to paint their crackers with some frosting and then stick marshmallows to them. Simple as that!