CIRCLE TIME:
Talk about animals. Print the flash cards (cut them out on the dotted line and each card will be the same size)and use them to discuss the different animals, their names, what sounds they make, where they live, what they eat, etc. There are lots of animals to choose from! You could split them up and talk about a different group each morning in Circle Time. Start the discussion with the kids and see where it takes you. They often have some very interesting questions and observations!
Zoo Animal Flashcards
LETTER: Z z for Zoo
 Click HERE for coloring page
Trace the Z with a finger and then with a color. Talk about the sound Z makes.
SITE WORDS:
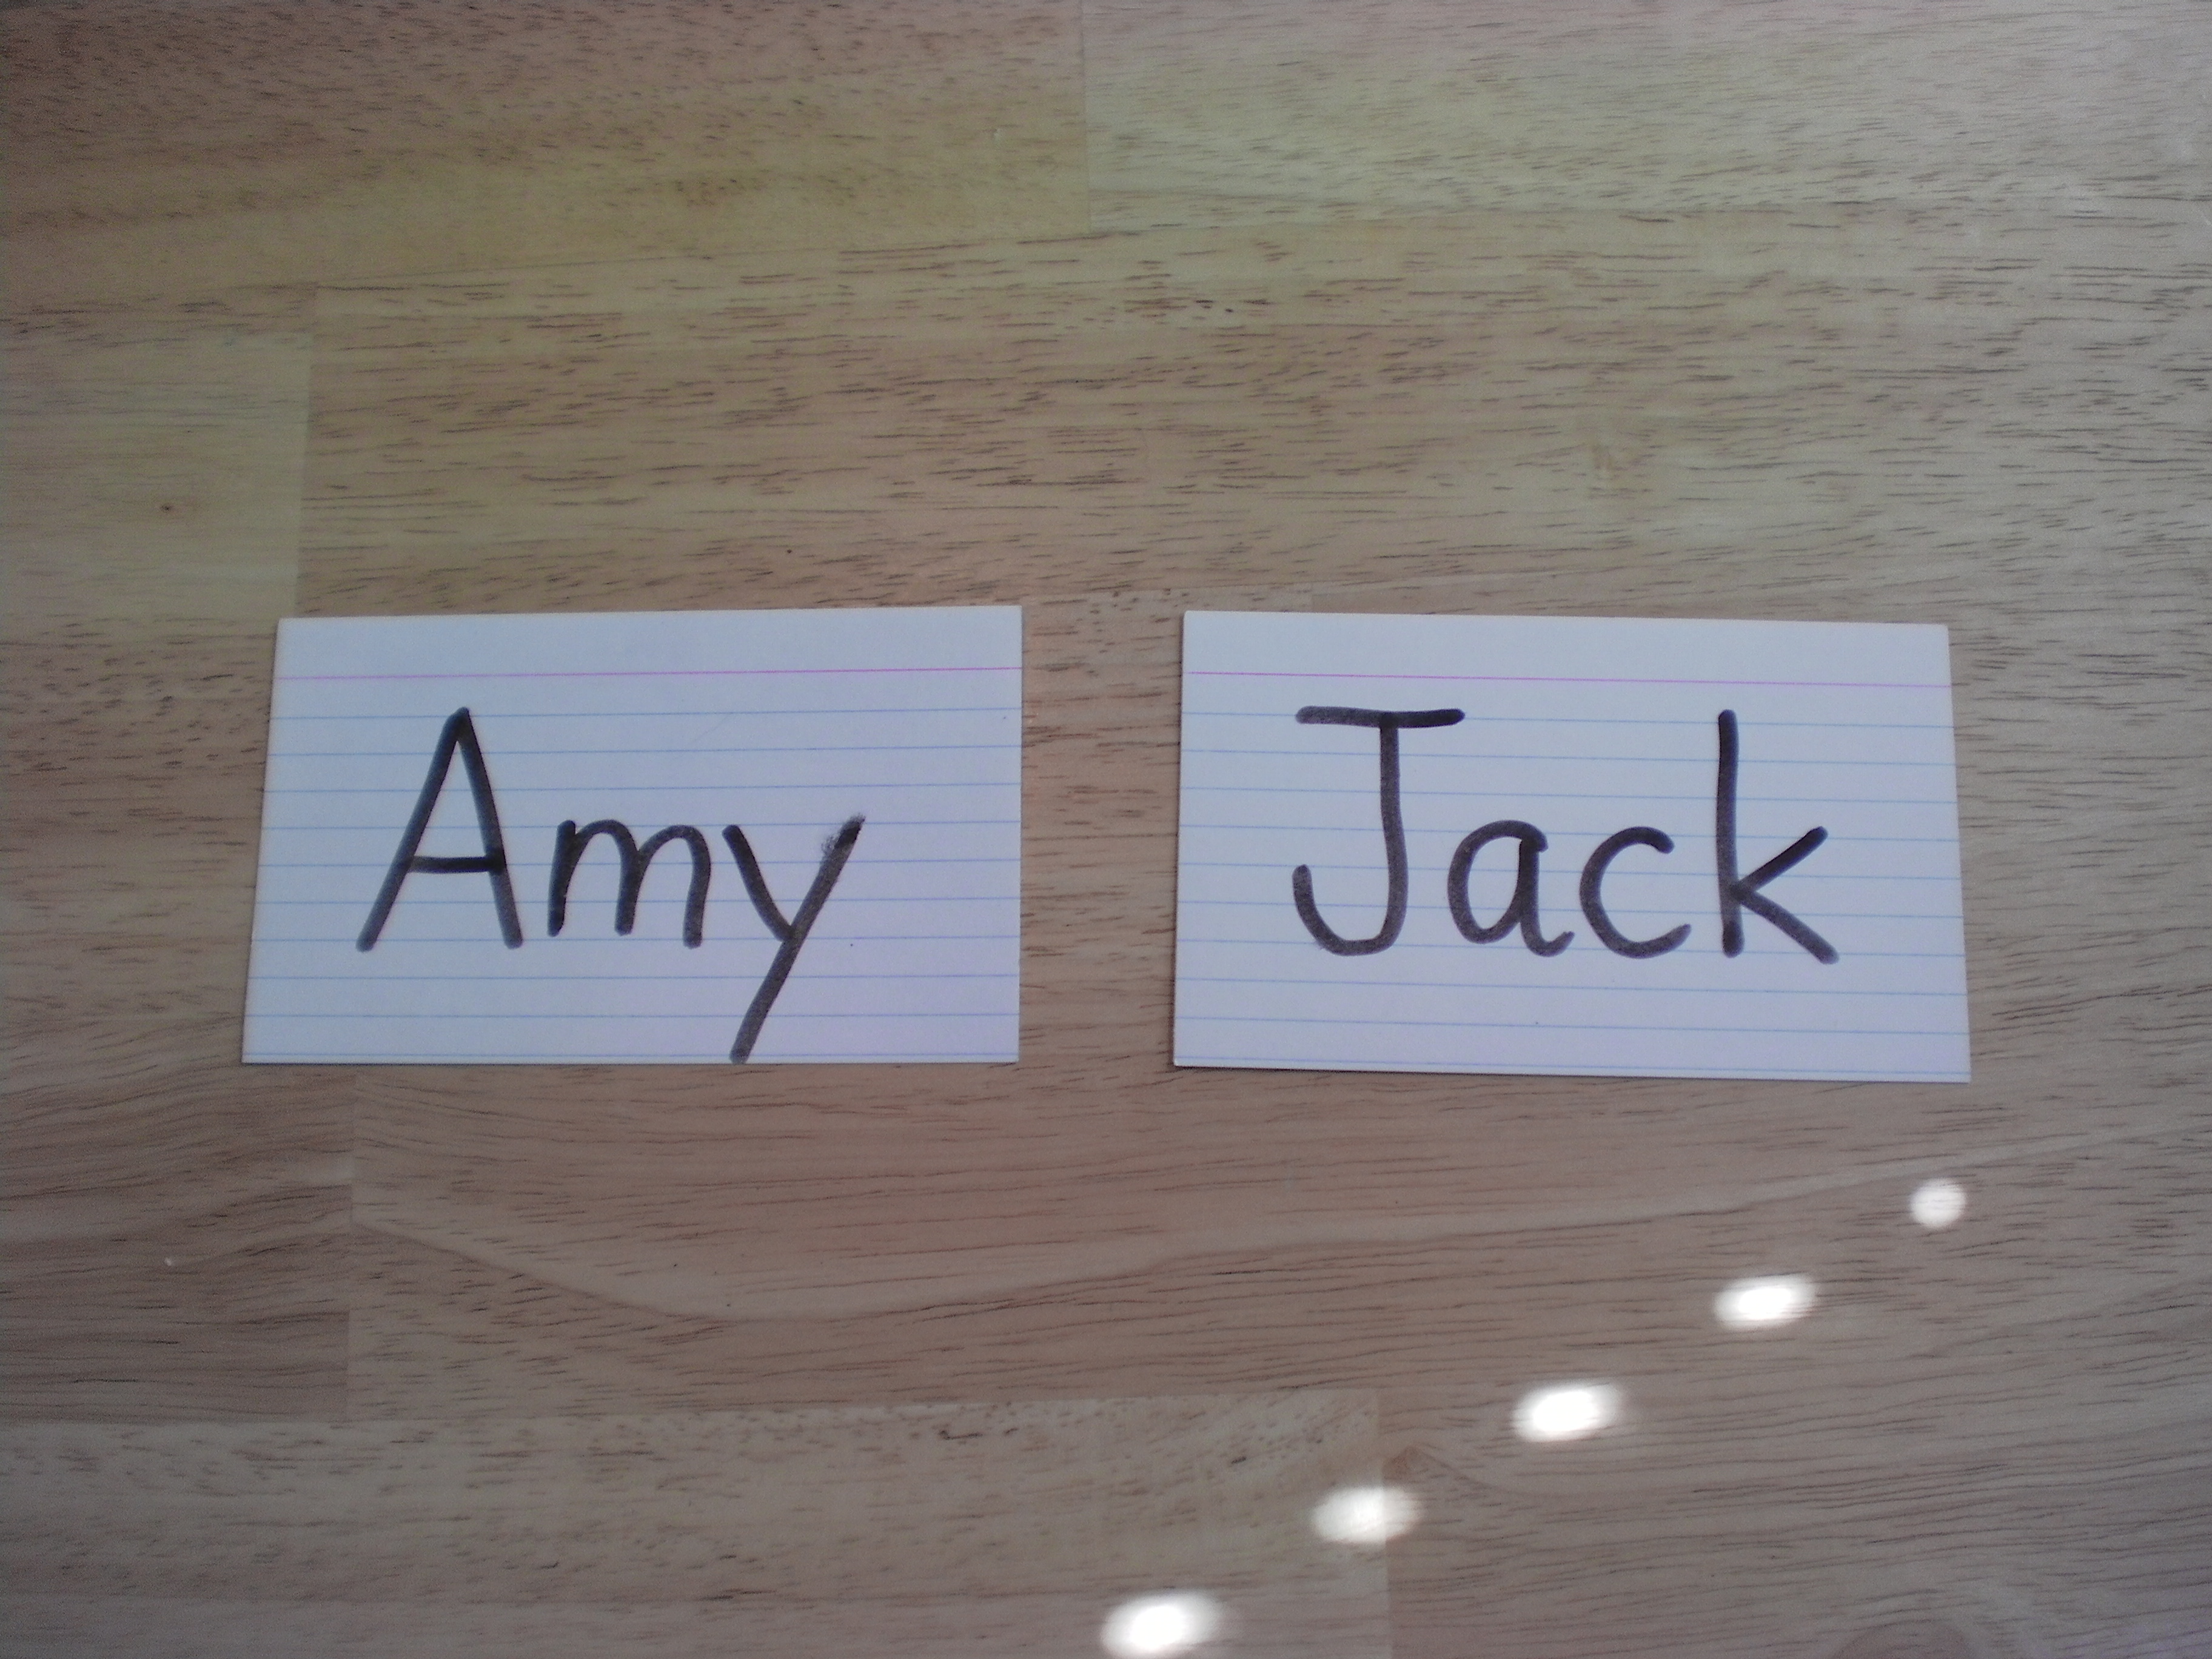
Name Game
This will be the last week to focus on recognizing their own names! By this time they should be able to pick out their name fairly readily.
Print each child's name on 2 index cards using the correct upper and lower case letters. Cut one of the 2 cards into individual letters for each child.

SCIENCE
Animal Characteristic Graphing
Use the animal flashcards from circle time for this activity. Print the graph sheet. Talk about the different characteristics that the animals have. Ask the kids to place all the animals with hair in one pile and all the animals with scales in another. Once complete, place a sticker for each animal on the graph in the appropriate spaces. Continue through the rest of the characteristics. It will be interesting to discover the animals which fit into several categories!
Animal Graph
MATH
Monkey Mats
Print the mats from AtoZ TeacherStuff and cut everything out. Go through each numbered mat with the kids and have them trace and then say each number. Then ask them to place a banana bunch on the mat for the total number listed on the mat. This is a great counting activity, and it has MONKEYS! :)

http://printables.atozteacherstuff.com/760/monkey-number-mats-1-to-10-with-banana-counters/
Print in black & white or color, whichever you prefer!
Animal Addition
Use the divided plate again for a great visual addition helper! It is ok to use any kind of animal for this activity, such as stickers, little figurines, pictures printed from the Internet. My FAVORITE for this is to use animal crackers! Place 1 animal in one of the small sections and 1 animal in the other small section. Ask the children how many 1 and 1 equal. Place each of the animals into the 3rd larger tray to show that 1 plus 1 equals 2! Continue with this activity using different amounts each time.
COMMUNITY
Zoo Keepers
A "zoo" is a place where animals that you would not normally see are kept. People can visit and watch these animals without having to travel to the far away places these animals normally live.
People are necessary to help take care of these animals. In the wild, they can find food shelter themselves. While in a zoo, people help to provide these things for them. These people are called Zoo Keepers.
The Zoo Keepers bring food to the animals each day. This food must be prepared especially for each type of animal and special vitamins must be added to keep the animals healthy. This is a BIG job since some big animals can eat tons of food everyday!
The Zoo Keepers also check the animals to make sure they are not sick or hurt. They clean the spaces they live in to make sure they are comfortable. What fun it must be to play with animals every day!

GAME/GROSS MOTOR
Monkey Obstacle Course
This can be done any way you want! You can set it up inside or outside. Use whatever materials you have on hand. You could even do it at a local park. Be creative and make it fun. Have the kids act like different animals for different parts of the course. Hop like kangaroos, slither like snakes, swim like a seal. Maybe the winner could get a small stuffed animal or zoo coloring book! The possibilities are endless.

ART/CRAFT
ART - Zoo Animal Collage
Find pictures of animals on the internet, in magazines, a zoo brochure, or whatever you can think of. Cut out all the pictures and ask the kids to glue their favorites to a piece of paper. Talk about their animals and why they chose the ones they did.

CRAFT - Paper Plate Elephant
I found this craft on No Time for FlashCards! Follow this link to do this super fun activity! http://www.notimeforflashcards.com/2008/04/zoodley-zoo.html

BOOKS
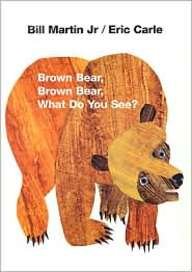 On AMAZON: http://www.amazon.com/Brown-Bear-What-You-See/dp/B0073XW096/ref=sr_1_4?s=books&ie=UTF8&qid=1364410724&sr=1-4&keywords=brown+bear+brown+bear+what+do+you+see
A great preschool book with different animals in different colors. The rhyming words make it a favorite!
A really fun book about some animals living in a big city all coming together to live at a zoo! There are pictures in place of words for the different animals so your preschooler can "read" this one with you!
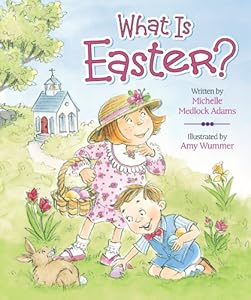
A book of few words, this gives you or your preschooler the ability to make up the story yourself, based on what is happening in the pictures.
MUSIC
"Keeper in the Zoo"
(sung to Farmer in the Dell)
The keeper in the zoo,
the keeper in the zoo,
Heigh-ho! The derry-o!
The keeper in the zoo.
The keeper feeds the (bears).
The keeper feeds the (bears).
Heigh-ho. The derry-o!
The keeper feeds the (bears).
continue with monkeys, 'gators, birds, etc.
COOKING
Zoo Cookies
Provide animal crackers and a couple different colors of frosting with some spoons. You could also provide sprinkles and other embellishments. Allow the kids to decorate their animals as they want.