Leaves & Trees (March 4-8)

Spring is coming! Soon the weather will be getting warmer (for those of you who actually had a winter this year!) and the leaves on the trees will begin to grow again. Our lesson this week will focus on trees and their leaves. Trees are such an important part of our world! Let's explore them together...


1st Circle Time this week: take a picture of each child and one of yourself. If you have a class pet, include them too! Print the pictures out. On a large piece of butcher paper draw a tree. It doesn't have to be perfect! Just make a trunk and some branches. Add enough branches for each child, you and the pet to have their own. Cut out some green conctruction paper in a big puffy cloud-like leaf cluster. Glue a picture of a student to each of these leaf clusters and place on their branches.

To begin the trees discussion, hang this up near the circle time area. Talk about how important and beautiful trees are. They are homes for birds, squirrels, lots of bugs and many other creatures. They provide us with clean air. They make shade from the sun for us. They are fun to climb. You can use the branches that fall off to make fire wood for a campfire. Trees are important! Show them the class tree and how the class is like a special family.


LETTER: L l

L is for Leaf! Print the color page. Talk about the letter L. L for Leaf. This is a letter that many young children struggle with. Mine does for sure! Really work on the pronunciation of this letter. Show them on your own mouth how to make the sound and have them repeat.
Have the kids trace the letter with their finger. Then trace the letter with a crayon. They can practice at the bottom of the page as well.


SCIENCE

Parts of a Tree


Talk about how trees have many parts. Begin at the bottom. The tree has roots that run deep into the ground. Sometimes the roots are above the ground where you can see them. This is how the trees drink water. Like the carnation coloring activity we did for Valentine's Day, the trees pull water up through their roots and into their trunk. The trunk is the next part on a tree. The trunk is covered in bark. Bark can be smooth or rough. The bark protects the tree. Coming off the trunk are the branches. The branches grow out from the trunk all around the tree. The leaves grow off of the branches. Some trees have needles instead of leaves. Leaves and needles can grow and then fall off. The leaves soak up sunshine which helps the tree grow. Many trees also grow seeds. Types of tree seeds are acorns and pinecones.

Provide a collection of leaves, pine needles, acorns, branches, bark, and pinecones for the kids to explore and study. Feel the items, are the smooth or rough? Heavy or light? Are they dry or moist? Have the kids identify the item they are holding. Print the tree chart HERE and allow the kids to place the item next to the part of the tree it corresponds to.


CRAFT

Shapes Tree Craft

Print the template HERE. Cut out all parts. Provide a piece of paper (white or blue) for the children. There are 2 different trees to craft. A big leafy tree and a pine tree. Talk about the shapes. Allow the kids to create their trees using the shapes. Glue them and display in the room!


MATH

Leaf Matching

Print out 2 copies of the leaf cards from Prekinders.com HERE. It is a good idea to print them on heavy cardstock or get them laminated. Place each of the different leaves on the table (only place a few if too many overwhelms the kids).  Show them the 2nd set one at a time and allow the kids to match them by placing the ones you are holding up on top of it's match on the table. Talk about what makes the match the same. What makes it different from the other leaves on the table?
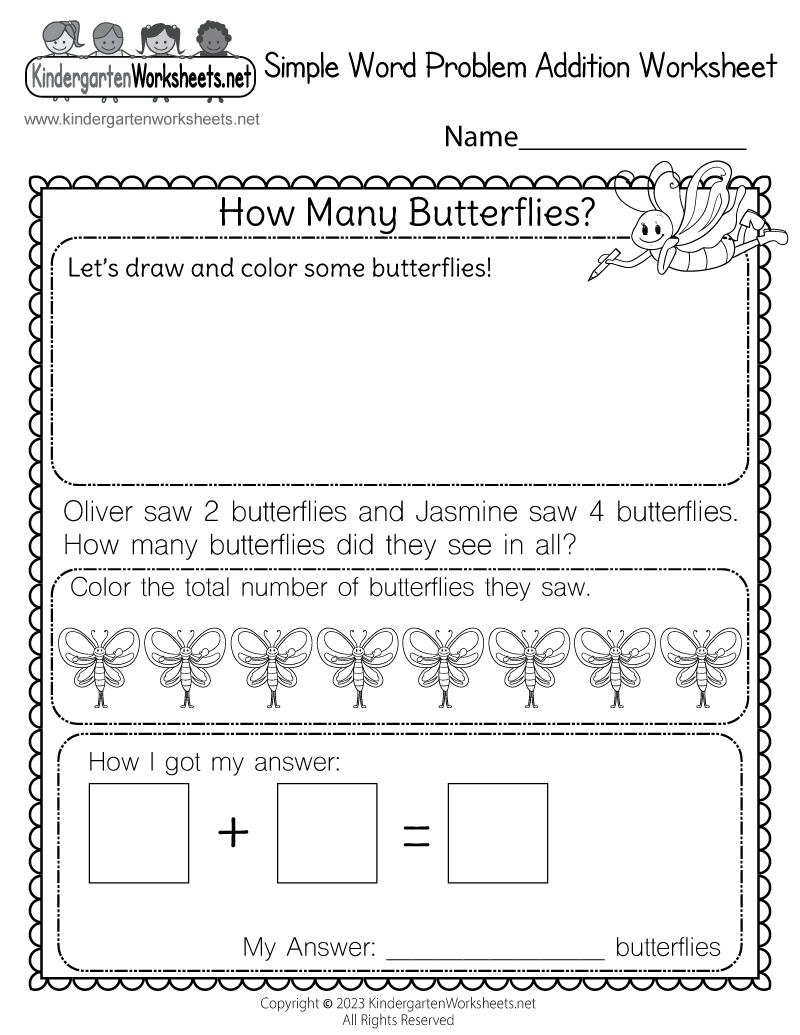


Simple Addition

Use the leaf cards from the matching activity. Create a plus sign (+) out of cardstock and also an equals sign (=).
Place 1 leaf on the table and have the kids count it. Place one more and count that one. Now place the plus sign between them and the equal sign on the end "1 leaf PLUS 1 leaf EQUALS how many leaves?". It is important to begin using this terminology with them for this activity. They can count them. Use numbers from any set you may have and place the number 2 after the equal sign.

Remove the number 2. Place another leaf next to the 1st leaf and move the 3rd leaf down the table a little. Place the plus sign so that there are 2 leaves on one side and 1 on the other and add the equal sign at the end. 2 leaves PLUS 1 leaf EQUALS how many?

Continue this as long as you can hold their attention. This is a great step in learning addition!


GROSS MOTOR/GAME

Nature Scavenger Hunt

If the weather where you are permits, do this outside. If it is still too cold and snowy, bring items in and do it in the classroom.

You can use pictures from magazines, pictures printed from the internet, or take your own pictures outside and print. Create a hunt list using pictures. Have them find a leaf, stick, pineneedle, acorn and whatever else you like and is available in your area. Provide them with a basket or bag to collect their items in. Bring them all back and have each child show off what they found!


ART

Nature Bracelets

You can use the items they found in their scavenger hunt! Wrap a piece of masking tape loosely around their wrist with the sticky side out. Allow the children to stick their nature items to the bracelet and wear for the day!


COMMUNITY

Tree Trimmers
When a tree gets to be too big or has some broken branches a special Tree Trimmer will come out and cut the tree. Trees must be cut by someone who is trained or the tree could be damaged! They have a special truck that can raise the tree trimmer up to the top of the tree where the cuts need to be made. They also have special saws and cutters to help cut the really big branches.


BOOKS

On Amazon: http://www.amazon.com/Franklin-Plants-Tree-Storybooks-Paperback/dp/0439203821/ref=sr_1_1?s=books&ie=UTF8&qid=1361382952&sr=1-1&keywords=franklin+plants+a+tree

A great story which teaches patience and responsibility and is also about a tree!


    On Amazon:  http://www.amazon.com/Eat-Leaves-Read-Me-First/dp/1572550414/ref=sr_1_1?s=books&ie=UTF8&qid=1361383030&sr=1-1&keywords=I+eat+leaves

Talks about the different animals that eat leaves for lunch!


MUSIC

Tickle Tree

This is my tickle tree,
As you can plainly see,
It will tickle you,
As it has tickled me.
So if you are not careful, this little tickle tree,
Will make you say Hee, Hee, Hee.


COOKING

Fruit Trees!

Ingredients:
Mandarin Oranges
Banana
Kiwi

Cut the banana and kiwi into slices. Show an example of the tree and see if the kids can recreate it before they eat all the ingredients!!


THIS WEEKEND:

Rhyming Week (February 25 - March 1)

Rhyming is not only lots of fun, it can also help children to learn! The sounds, rhyming and repetition invloved in rhymes helps children focus on sounds and learn new words. This week we will focus on rhyming and learn all kinds of things, too!


Introduce the idea of rhyming by playing a fun game. Say the name of an animal and then a rhyming word. An example could be COW, NOW. Give another example. Now see if they can do it. Give them the name of an animal and see if they can give you a rhyming word. Help them out as needed. Give stickers for good answers. They must give real words, though!

Read a nursery rhyme to help them understand the concept. Really exaggerate the words that rhyme while reading.


LETTER:  R r

R for Rhyme!

Rhyme Time Coloring Page


BOOKS/MUSIC

TONS to choose from!

There are many books full of nursery rhymes available on Amazon or at your local library.

DLTK's website has a whole list of rhymes and fairy tale coloring sheets!
http://www.dltk-teach.com/rhymes/color-index.htm


MATH

Fish Counting Nursery Rhyme

Print and read the fun rhyme HERE to start the math activity. It uses a humorous rhyme to count from 1 to 10.

Next print the fish from the template HERE from First Pallet.com.  Write the numbers 1-5 on the fish.

Use a paper plate to create a fish bowl. Cut the top off of the plate, have the children paint them blue.

Once the fish bowls are dry (you can have them color them if you want this to go faster!) ask the children to count their fish using the numbers on the fish. Have them place 5 fish in the bowl. You can glue them down now or make this lesson a bit tougher by working on some addition. Ask the children to take all the fish out of the bowl. Now place 1 fish in the bowl. If you place 1 more fish in the bowl, how many are there now? Continue this line of addition questions as needed.

Once the fish have been glued to the bowl, they can color their fish. Once complete, these are cool to hang up in the room!


SCIENCE

Humpty Dumpty Egg Break Eggs-periment!

Read Humpty Dumpty to the children first.

Set this up by pre-hard boiling some eggs. Show the children how egg shells are pretty strong at the top and bottom by squeezing them with your thumb and forefingers. Show them how you can squeeze very hard and the egg won't break. You can get them involved by setting the egg on its end on a table and allowing them to push down on the top end.
Now show them that the egg is more fragile on the sides. Squeeze the egg in your fist until it cracks. Now allow the children to do the same. Talk about how egg shells are fragile or easily broken and how it is important to handle them carefully. Why did Humpty break when he fell off the wall? Because egg shells are fragile!
Next, print the egg template HERE.  It is best to print it on cardstock or other durable paper. Cut the egg into a few pieces to make a puzzle. Now they can put "Humpty together again"! You could make a puzzle for each child and have them glue the pieces to another piece of paper.


RHYME ACTIVITY

Rhyming Basket

Place a number of items in a basket. Hand the basket to each child and ask them to pull out one item. Have the child say the name of the item, then say something that rhymes with it! These words do not have to be real words. This is a very silly and fun activity!

Rhyming Dice

Another version of this game is to make a dice out of a square box. Place pictures of objects on each of the cube squares. Have the children roll the dice and say the name of the item it lands on. Then ask them to make a rhyme for that word.


CRAFT

Rhyme Matching Picture Craft

Cut out pictures from a toy cataloge or magazine. Choose pictures that rhyme with another picture you cut out. Begin the craft by discussing the pictures you have chosen. As they say the name of the item, see if they can find the rhyming match. Allow them to glue the matches to a piece of paper.


BALL-WALL      PHONE-STONE    DOLL-CRAWL     FROG-DOG    SPOON-MOON


FINE MOTOR

Rhyme Worksheets

Print the worksheets and review them with the kids. They will need to draw a line to connect an object on the left side to a rhyming object on the right side. Say the name of each object on the left. Then go down the list of objects on the right saying their names. When you come to the one that rhymes, they should tell you! Then have them make the lines to connect them.

http://www.education.com/worksheet/article/connect-rhyming-pictures-prek/

http://www.education.com/worksheet/article/connect-rhyming-pictures-2-prek/


5 Senses (Feb 18 - 22)

We are going to talk about our senses this week! Not only is it great to learn how each of them work, we can count them, too. Our senses are touch, smell, sight, hearing, and taste. It is so fun to explore each of these and watch as they begin to notice them on their own.


In the first Circle Time of the week, discuss each of the senses, which part of their bodies are associated with those senses, and how each of them help us make our way through the world.

SIGHT: Our eyes help us see the world around us. We can see our friends and family, the colors of the trees, cars, buildings, and water, the words and pictures in books. Everyone close your eyes, what can you see now?

HEARING: Our ears help us hear the sounds around us. We can hear our mothers talk or sing to us, the birds chirping, wind blowing through the trees, traffic on the road. Everyone be completely quiet for a moment, can you still hear? What can you hear? Cover your ears with your hands. Can you still hear things?

TASTE:  Our tongues in our mouths help us taste things. We can taste many different flavors such as sweet, spicy, sour, or bitter. We should only place things we wish to eat into our mouths! Stick your tongue out of your mouth and look at your friend's tongue!

SMELL:  Our noses help us smell things in our world. We can smell coffee brewing, the sweetness of flowers, our lunch cooking, dirty laundry. If you squeeze your nose shut, you won't be able to smell very well. That is why it is difficult to smell when your nose is stuffed up! Squeeze your nose shut and talk, you will sound very funny!

TOUCH:  Our skin helps us to feel the things around us. We can feel the cold air outside, the fuzziness of our pajamas, the pokey-ness of our hairbrush, the smoothness of the window. Touch the carpet with your hand, it feels very soft!

We have each of these senses to help us understand our world. Use each of your senses when you are learning new things!


LETTER OF THE WEEK: K k

On a piece of craft foam, draw a letter K. Use a fuzzy pipe cleaner to create the letter and hot glue it to the foam, over the written letter. Get a shallow tray with sides, such as a plastic bin from a dollar store. You can put sand, flour, rice, or salt in the bottom. Allow the kids to trace the fuzzy letter to FEEL (one of our senses!) the letter. Then allow them to make the letter in the tray. This is a great way to introduce writing to them, it easily "erases", and it works well with our lesson this week! Make sure to talk about the letter, the sound it makes, and several words that begin with K such as Kite, Kitten, Kit, and Kick.


SCIENCE

Hearing - How Sound Is Made

Materials Needed:
Various sized containers
Chopsticks or wooden spoons for drumsticks
Cellophane paper and extra large balloons
Various materials to bounce on the drums (such as dried beans, rice, flour, marbles)
Rubber bands
Scissors


Cut the ends of the balloons off (the part you blow into) and pull the ends down over the open tops of the containers. Make sure to also place the cellophane paper over one of them to make a different sounding drum. Secure each with the rubber bands.

Place a pile of rice on one drum, some beans on another and so forth.  Tell the children that SOUND is made by vibrating (or shaking) the air. Bang on a drum with a drumstick and show them how the objects on top vibrate when you hit it. You also hear the sound! Show them how the sound changes when you use a larger or smaller drum, different objects on top, or the cellophane paper. Each will make a different sound. Ask them which drum makes the objects bounce higher? What happens if you bang the drum softly? Or hard? Allow the children to bang the drums and make a great big mess! Sound is made by vibrating the air and this is a great way to demonstrate that!


SENSE OF SMELL ACTIVITY

Materials Needed:
Small, plastic cups
Lids for cups or plastic wrap
Cotton Balls
Scented oils, food flavorings, vinegar, perfume, shaving cream, onion, coffee (anything you can have them smell)
Pictures of the items they will be smelling


Gather the different SMELLS. Any perfumes, oils, food flavorings, etc can be dripped onto the cotton balls. Place the items inside the cups and place the lid or plastic wrap on top. Poke a few holes in the lid.

Show the children the pictures of the things they will be smelling. Talk about their sense of smell! We smell things everyday. Some things smell good and some things don't. Ask them what kinds of things they like to smell. What kinds of things smell bad?

Allow them to smell one of the cups. What does it smell like? Give them a selection of 3 or 4 pictures to choose from. When they get it right, put the picture on top of the cup. Continue through your selections and discuss if the smell is good, bad, yummy, etc.


TOUCH ACTIVITY

Blocks in Socks

Materials Needed:
Several clean socks
Objects that you can feel through the socks and identify (marbles, blocks, puzzle pieces, toy cars, stuffed toys, spoon, sippy cup)
A soft blanket or other very soft item

We use our hands to TOUCH things and help us understand what they are. Even if you can't see a spoon, you should be able to tell it is a spoon by feeling it with your hands. Have the children close their eyes and ask them to feel the item in front of them. Allow them to feel a soft blanket or something like it. Ask them how it feels. Is it soft? Is it rough? Is it cold?

Now explain that there is something inside the sock you are holding. It is a good idea to tie the open end of the sock so they can't sneak a peak! They should feel the sock and try to guess what it is by how it feels. Allow the children to feel the object and make a guess. Once all guesses are in, open the sock and show them what it is! Let them each feel the item again so they can see how it feels now that they know what it is. Continue with a few more items.


CRAFT

Faces Craft

This one will help to show the different senses. Print the face template HERE. Cut out multiples of each face item (mouth, eyes, noses, ears) from magazines. Talk about each of the parts of the face and what sense goes with them. Allow the children to create their own faces using the cutouts and the face templates.


MATH

Egg Carton Color Sorter
 
Materials Needed:
Egg Carton
Multiple colors of paint or marker
Selection of single colored items that will fit in the egg carton compartments

Color the bottom of each egg compartment. Place the items in a big bowl and tell the children to use their eyes (sense of SIGHT) to separate the items by color by placing them in the compartment with the same color. Once all items are sorted, count how many of each item there are.


BOOKS

5 Senses Book 

Print out the FREE printable from Kidzone! http://www.kidzone.ws/science/me/ws-sensesbook.htm


ART
Stained Glass
Materials Needed:
Construction Paper
Wax Paper
Tissue Paper
Stickers
Glue

Tear the tissue paper up into many different pieces. Cut a square out of the center of the construction paper, leaving 1" all the way around. This will be the "frame". Cut the wax paper to fit inside the frame and tape it down on the back so that it shows through the front.

Place the cut up tissue paper and stickers on the table for the children to choose. Give each child a framed wax paper and a glue stick and let them go! These always end up very pretty, especially when you hang them in the windows. We use our sense of SIGHT to see the pretty colors and make this art. Then we can LOOK at the art for many days and enjoy it.


MUSIC

5 Senses Song

5 senses, 5 senses
We have them, we have them
Seeing, hearing, touching,
Tasting and smelling
There are 5
There are 5


COOKING

Taste Testing!

We can't leave out the very important sense of TASTE! This will take some set up, but will be lots of fun. Choose several different flavors such as sweet, salty, bitter, sour. Tell the children that you are going to taste some different things and decide what flavor they are and if they like them or not. Just make sure that you choose things that they can't choke on and no one is allergic to! Other than that, it is a free-for-all! Have fun with this one.